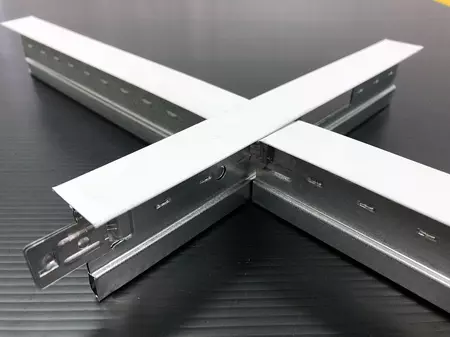
T-bar 輕鋼架 (鋼頭)
標準系列

T-bar 輕鋼架 (鋼頭)
概要
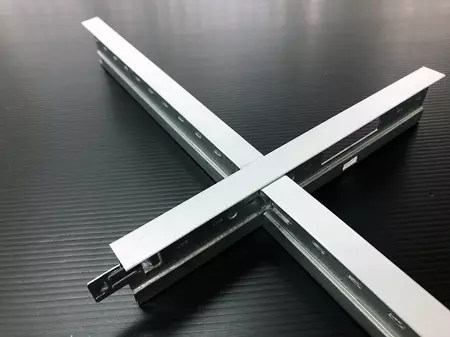
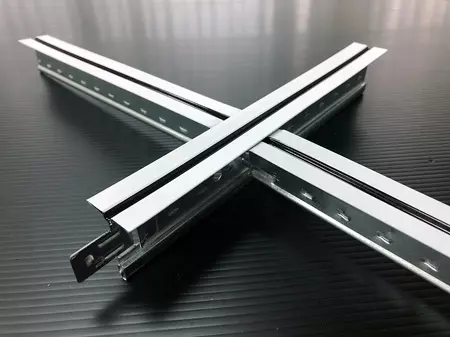
我們的 T-bar 輕鋼架由熱浸鍍鋅鋼材製成, 材料符合 JIS G3302 SGCC 標準. 全面採用全自動機器生產, 除了可以滿足高效率的生產速度外, 產品的尺寸更可以被精準掌控
System consists of
G.I. : 0.30mm / Main Runner: 32mm (height)
| Item | Size in metric | Size in imperial | G.I. thickness | Dimension |
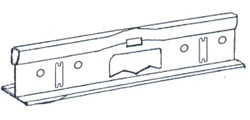
| Main Runner | 3.6M (3600mm) | 12FT (3660mm) | 0.30mm | 24x32mm |
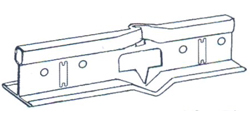
| Cross Tee | 1.2M (1200mm) | 4FT (1220mm) | 0.30mm | 24x26mm |
| Cross Tee | 0.6M (600mm) | 2FT (610mm) | 0.30mm | 24x26mm |
| Wall Angle | 3.6M (3600mm) | 0.40mm | 22x22 / 24x24mm | |
| Wall Angle | 3.0M (3000mm) | 0.40mm | 22x22 / 24x24mm |
G.I. : 0.27mm / Main Runner : 38mm (height)
| Item | Size in metric | Size in imperial | G.I. thickness | Dimension |
| Main Runner | 3.6M (3600mm) | 12FT (3660mm) | 0.27mm | 24x32mm |
| Cross Tee | 1.2M (1200mm) | 4FT (1220mm) | 0.27mm | 24x26mm |
| Cross Tee | 0.6M (600mm) | 2FT (610mm) | 0.27mm | 24x26mm |
| Wall Angle | 3.6M (3600mm) | 0.40mm | 22x22 / 24x24mm | |
| Wall Angle | 3.0M (3000mm) | 0.40mm | 22x22 / 24x24mm |
優勢
- It is economical, easy to install, using less labor to complete the installation at minimum time as compared with conventional extruded aluminum tee system.
- Interchangeability of main and cross tees between systems, promotes lower inventory requirements and greater field flexibility.
- The straight entry locking feature of the section allows the system to be installed easily within close proximity of the overheads.
- The system promotes complete designs flexibility and it is capable of sustaining of loads normally designed into suspended tee system (refer to load table)
- Overlap type of cross tee provide complete flush joint, eliminating gaps between main runner and cross tees and ensure rigidity at fixtures.
- In line cross tees provide true double-lock action.
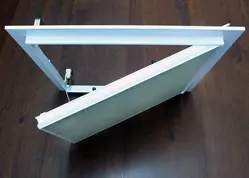
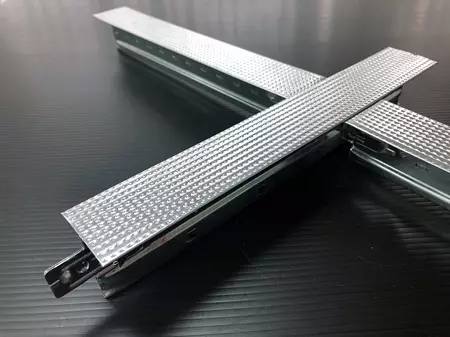
Before Fire
Effect after exposure to fire conditions.
After Fire
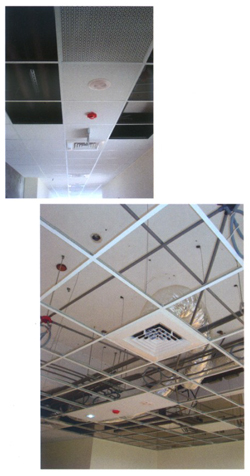
Installation Steps
- Step 1: Measuring and planning: Determine the lines for main runners and cross tees in such a way that tiles about the wall are at least half a tile (300mm)
- Step 2: Mark the desired ceiling height: Measure and mark the walls at all corners above the installation level. Snap a chalk line and test for level.
- Step 3: Inserting a nail between the wall and the wall angle at marked location serves as a good anchor for this purpose. Check to be sure the cross tee string is at 90°
- Step 4: Attach the main runners to the hangers
- Step 5: Install cross tees, assuring that they are adequately connected to main runners
- Step 6: Lay in panels, beginning at one corner and completing row by row.
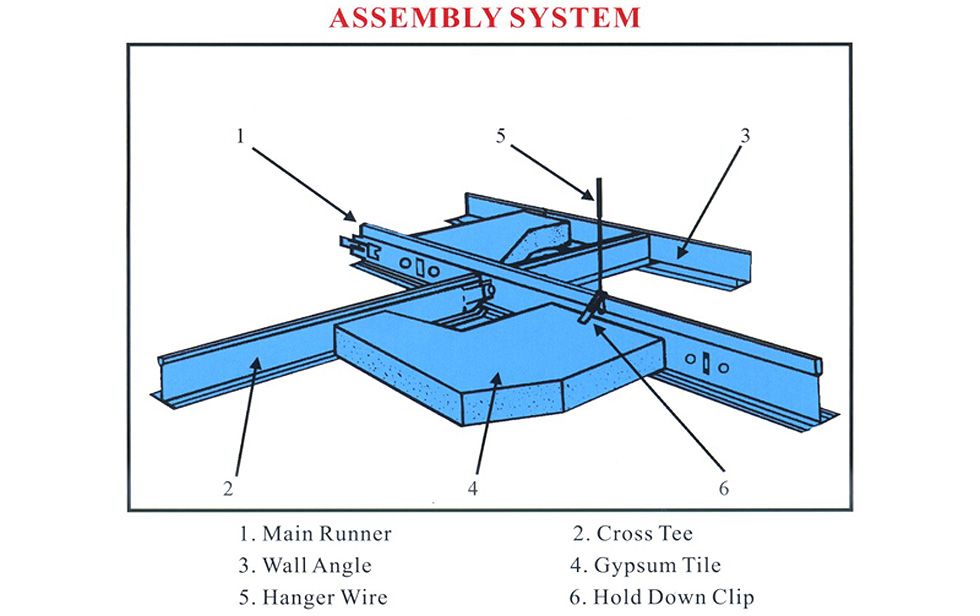
Assembly
Each tee grids must be fitted always in the left position (Grey Color) of the slot. Hear the sound "Click"!
Disassembly
Need no tools!
Push, through the left thumb.
Then the tee's edge and simultaneously we pull the tee with our right palm.
Main Runners Disassembly
The disassembly must be done by a screwdriver with a slim tip.
- 檔案下載